Windows Installation Guide
Requirements
Visual Studio – 2018 or higher
Elasticsearch (for Hive server) – version 2.4.3 (recommended)
Hive Server – version 1.0.2 (latest)
XAMPP server for MySQL
Cloning the Source Code
Place the Go_Workspace in C:/Users/username/. It contains the source code for Elasticsearch and scripts to run Hive server locally.
Clone the source code of Dashboard by executing the command:
git clone https://github.com/epournaras/SmartAgoraBackend
Installing Hive Server
Follow the instruction here to get details for hive installation and setup. Hive server runs on http://localhost:8080 by default.
Executing Hive & Elasticsearch locally
To run Hive server locally, follow either of the two steps given below:
Change the working directory to C:/Users/Username/Go_Workspace/bin and execute the following command in the command prompt:
hive-server -index hive -esDomain localhost -esPort=9200 -port 8080 &
Manually execute the batch files:
/Go_Workspace/Elasticsearch-2.4.3/bin/Elasticsearch.bat
/Go_Workspace/bin/hive-server.exe
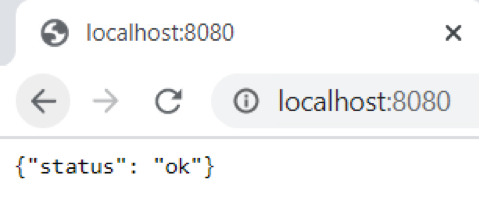
The following screen appears after successful run of Hive server.

Visit http://localhost:8080 to check the status. The following screen appears showing successful execution of hive server.
Installing XAMPP Server
We need XAMPP server to create the database for Dashboard. We can also go for other alternatives such as Apache, Nginx or MySQL Workbench etc. XAMPP installation steps are given below:
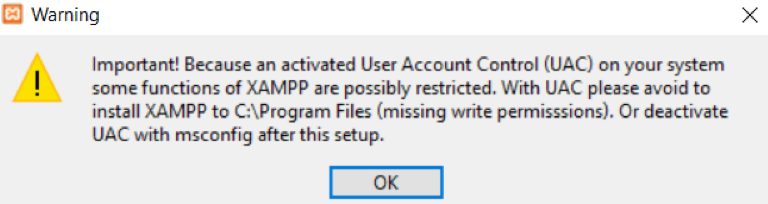
Download XAMPP from https://www.apachefriends.org/index.html.
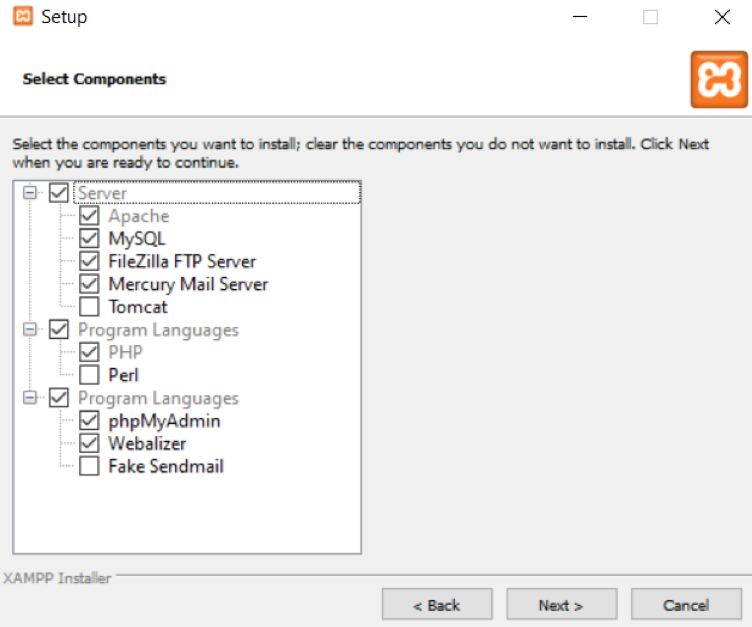
Open the downloaded file and configure XAMPP.
Uncheck “Tomcat”, “Perl” and “Fake Sendmail” and click next.
Keep all the default settings. Click finish to start the XAMPP control panel.
Start the Apache and MySQL servers from XAMPP control panel.
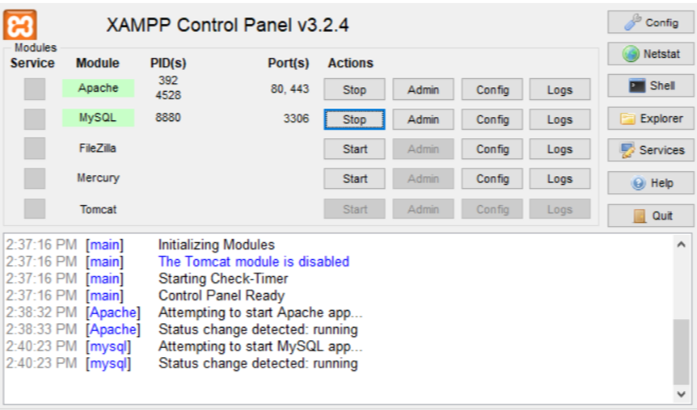
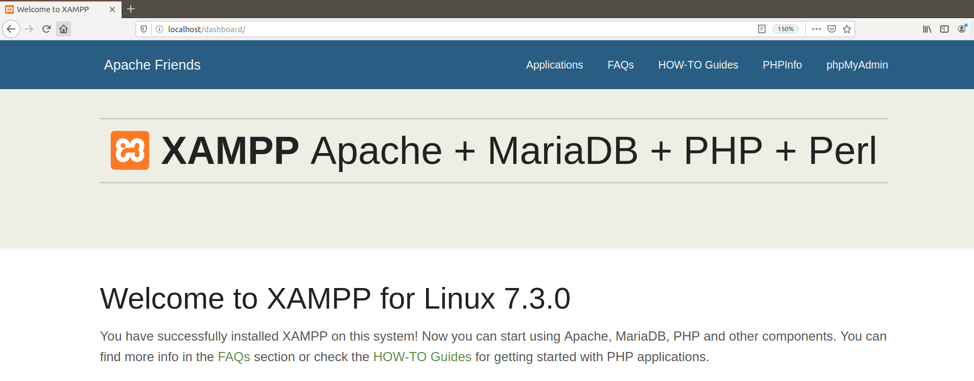
Visit http://localhost/dashboard/ to see the administration module of XAMPP server.
Creating the Database
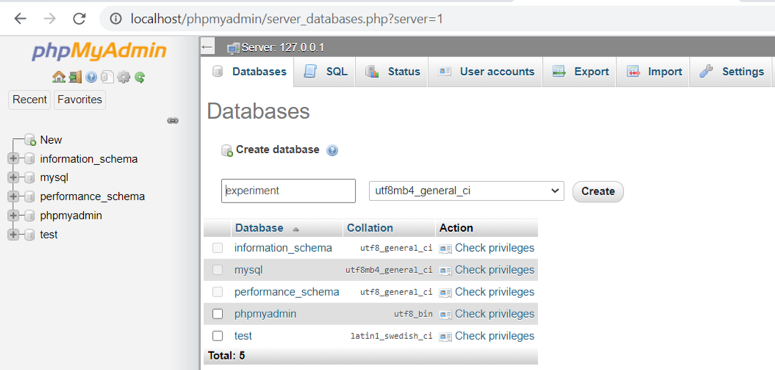
Visit http://localhost/phpmyadmin to open admin module for MySQL in XAMPP.
Create a database and update the name of database and its credentials in Dashboard/XMLParser/XMLParser/web.config and Dashboard/XMLParser/socialexperiment.sql files.
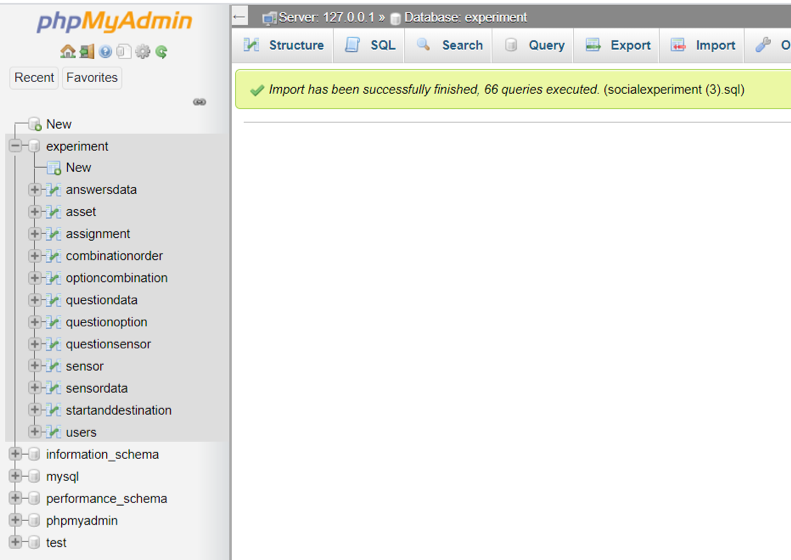
Import and execute Dashboard/XMLParser/socialexperiment.sql using phpMyAdmin to create all necessary tables in the Dashboard database.
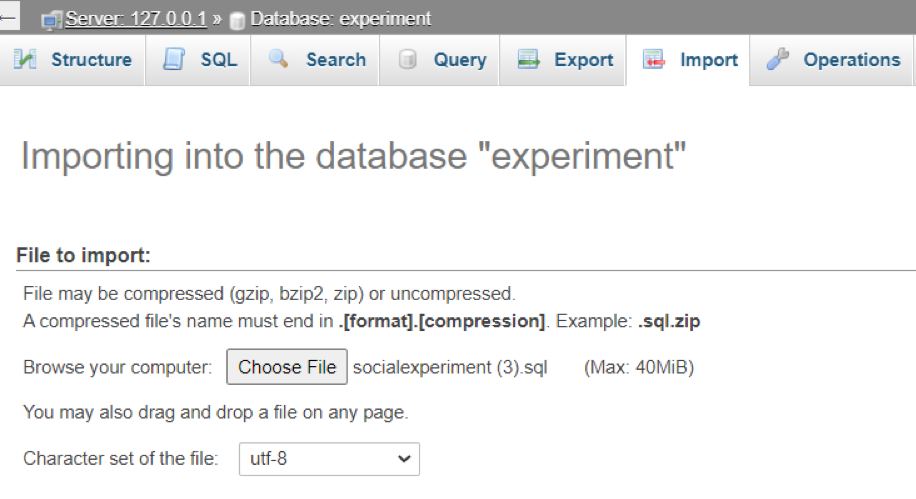
You will see the following screen after successful execution of the script:
Installing Visual Studio
Visual Studio can be downloaded here. It is needed to build the solution file for the Dashboard.
Building the Solution File
Open Visual Studio and select “Open a project or solution”.
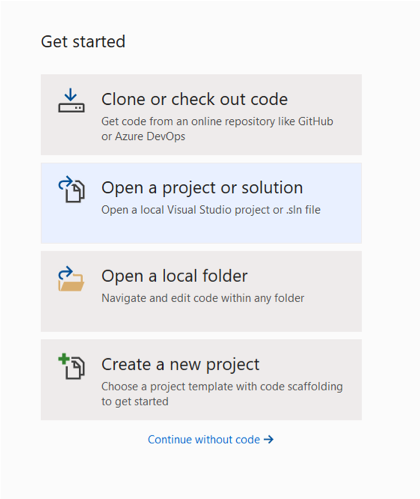
Select the solution file Dashboard/XMLParser/XMLParser.sln to open the Dashboard project.
Open Dashboard/XMLParser/XMLParser/Web.config and add database credentials for MySQL and host and port addresses for Hive server.
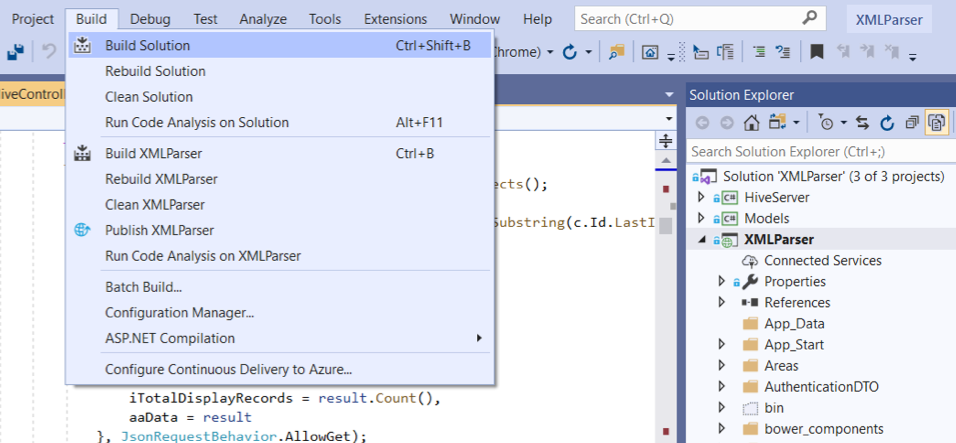
Build the solution file with CTRL+Shift+B. The solution file namely XMLParser.sln will be built inside the /Dashboard/XMLParser directory.
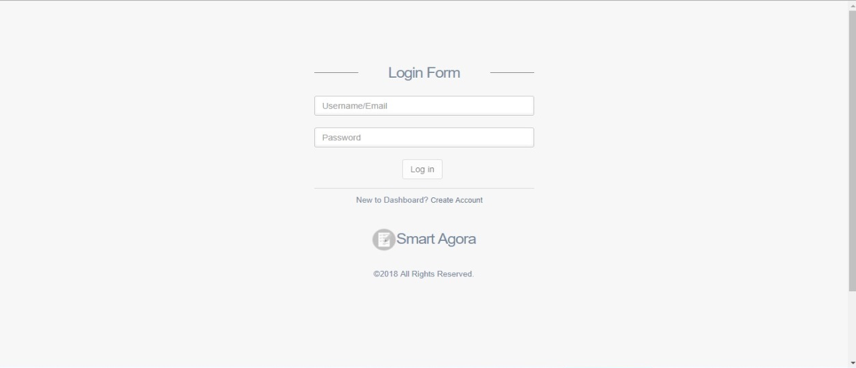
The Dashboard Welcome Screen
Visit http://localhost:44300 to reach the Login screen. Sign up to explore the functionality of the Dashboard.