Ubuntu Installation Guide
Requirements
Mono server/ mono-xsp4 package (for running ASP.Net applications) – Tested with mono 6.12.0.90 and xsp4 “Mono.WebServer2.dll 0.4.0.0”
XAMPP server for MySQL
Elasticsearch (for Hive server) – version 2.4.3 (recommended)
Hive Server – version 1.0.2 (latest)
Installing Mono Server
- Follow the steps provided here to install the prerequisites for Mono server (for Ubuntu).The setup is tested for mono-devel mono-complete, so make sure to have installed both.
Install mono-xsp4 for running ASP.Net applications.
sudo apt-get install mono-xsp4
Verify mono server by running the following command. If if installed correctly, it should not throw any error.
mono --version
Installing XAMPP Server
We need XAMPP Server to create the database for the Dashboard. We can also go for other alternatives such as Apache, Nginx or MySQL Workbench etc. XAMPP installation steps are given below:
Before you start to install XAMPP on Ubuntu. You must be logged in with a non-root user account on your server/desktop with sudo privileges.
Install netstat by running the following command (Netstat is required by XAMPP):
sudo apt install net-tools
Install XAMPP using the following command:
sudo wget https://downloadsapachefriends.global.ssl.fastly.net/7.3.0/xampp-linux-x64-7.3.0-0-installer.run?from_af=true
Make the downloaded file executable with:
sudo chmod +x xampp-linux-x64-7.3.0-0-installer.run
Run the file by executing the command:
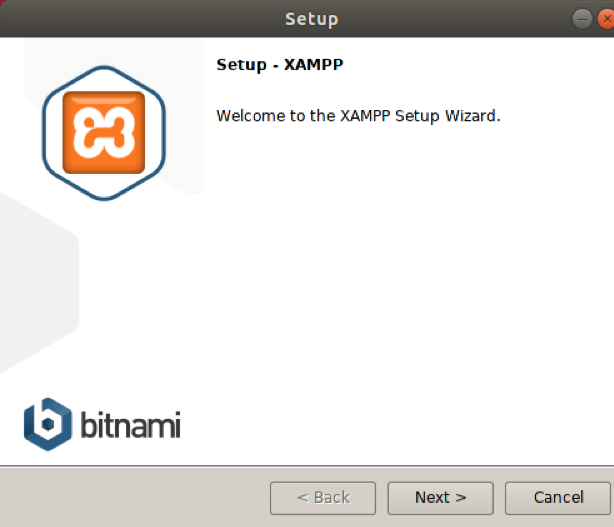
sudo ./xampp-linux-x64-7.3.0-0-installer.run
You will see the following screen. Click next.
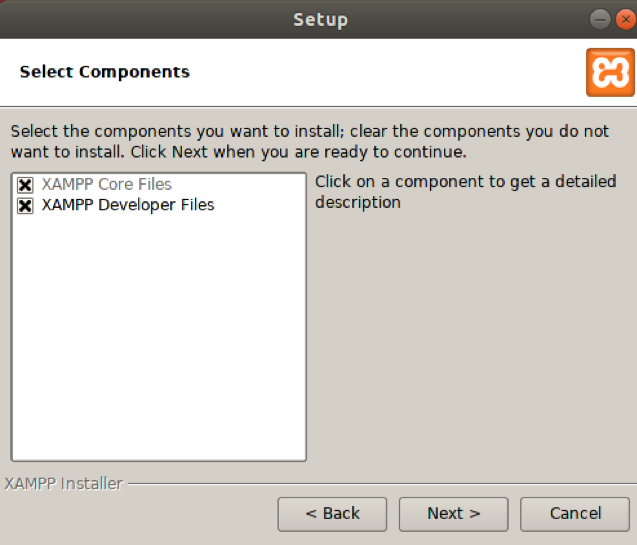
Select required components. It is recommended to keep the default selection.
The XAMPP control panel will launch after complete installation.

Go to tab Manage Servers on the XAMPP control panel. You will see the Apache server running. Make sure to start MySQL Database server manually.
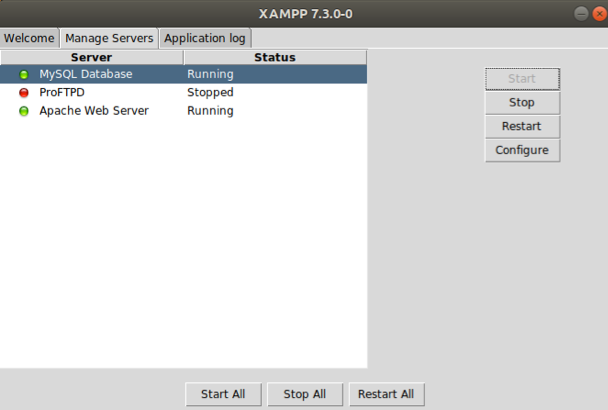
Visit the link http://localhost/ to see the XAMPP dashboard.

Creating the Database
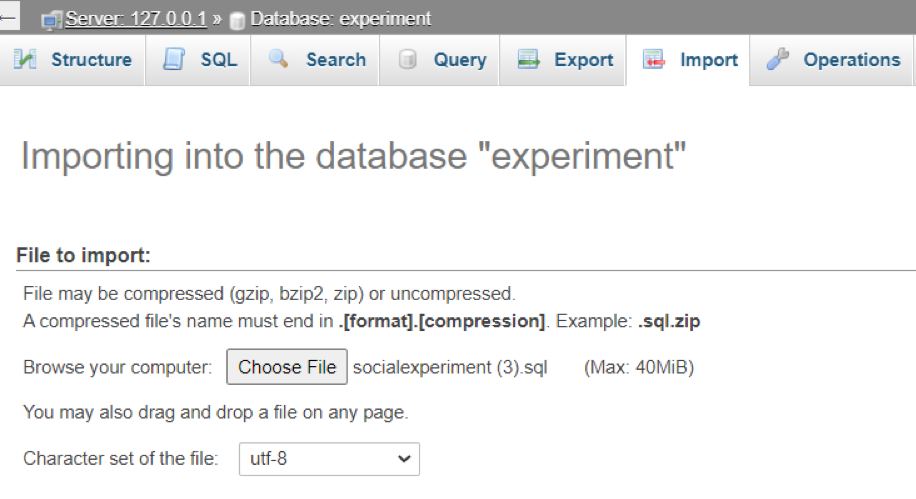
Visit http://localhost/phpmyadmin to open admin module for MySQL in XAMPP.
Create a database and update the name of database and its credentials in Dashboard/XMLParser/XMLParser/web.config and Dashboard/XMLParser/socialexperiment.sql files.
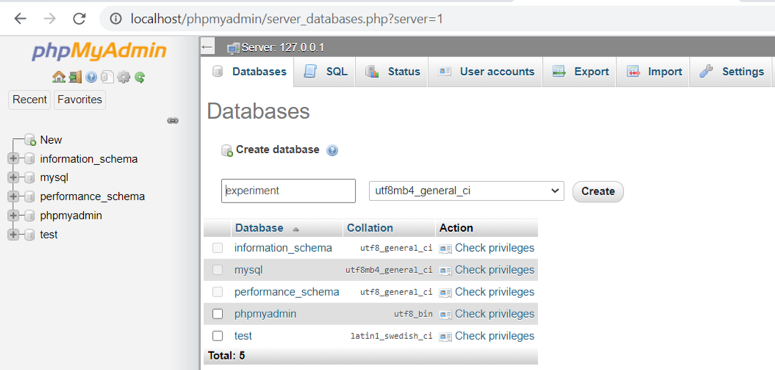
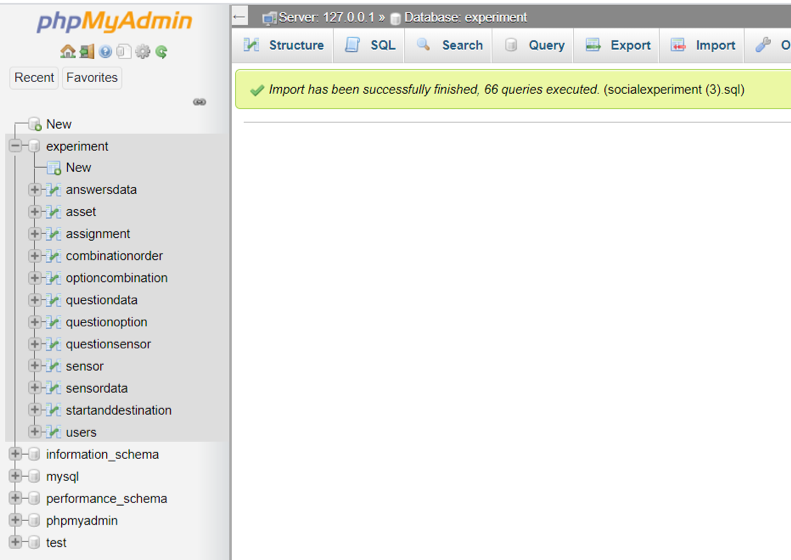
Import and execute Dashboard/XMLParser/socialexperiment.sql using phpMyAdmin to create all necessary tables in the Dashboard database.
You will see the following screen after successful execution of the script:
Resettign the Database
If ever there is the need to reset the database, one can open the following link:
http://127.0.0.1:8080/admin/setup/YES_I_AM_SURE
Cloning Source Code
Place the Go_Workspace at your home directory “~/”. It contains the source code for Elasticsearch and bash scripts to run Elasticsearch & Hive server locally.
Clone the source code of Dashboard by executing the command:
git clone https://github.com/epournaras/SmartAgoraBackend
Running Mono & Hive servers
Run the hive server by changing the working directory to “~/Go_Workspace/bin” and execute the following command in terminal:
./hive-server -index hive -esDomain localhost -esPort=9200 -port 8080 &

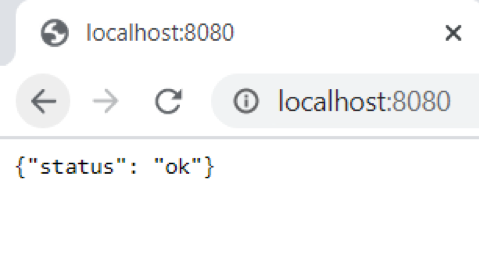
Visit http://localhost:8080 to check the status of the server.
To stop the hive server, execute the following command:
pkill hive-server
Note: The former command should be run from the “~/Go_Workspace/bin” directory.

Run the web server (mono server) by navigating to “~/Dashboard/XMLParser/XMLParser” and execute the following command:
xsp4 --port 9000 --nonstop &
Building the Solution File
Open the file Dashboard/XMLParser/XMLParser/Web.config and add the credentials for the MySQL database and host and port addresses for the Hive server.
Build the solution file by navigating to /Dashboard/XMLParser/ and execute the following command in the terminal:
sudo msbuild XMLParser.sln
After a successful build, you will see the message “Build Succeeded.”.